Gua Sha Benefits
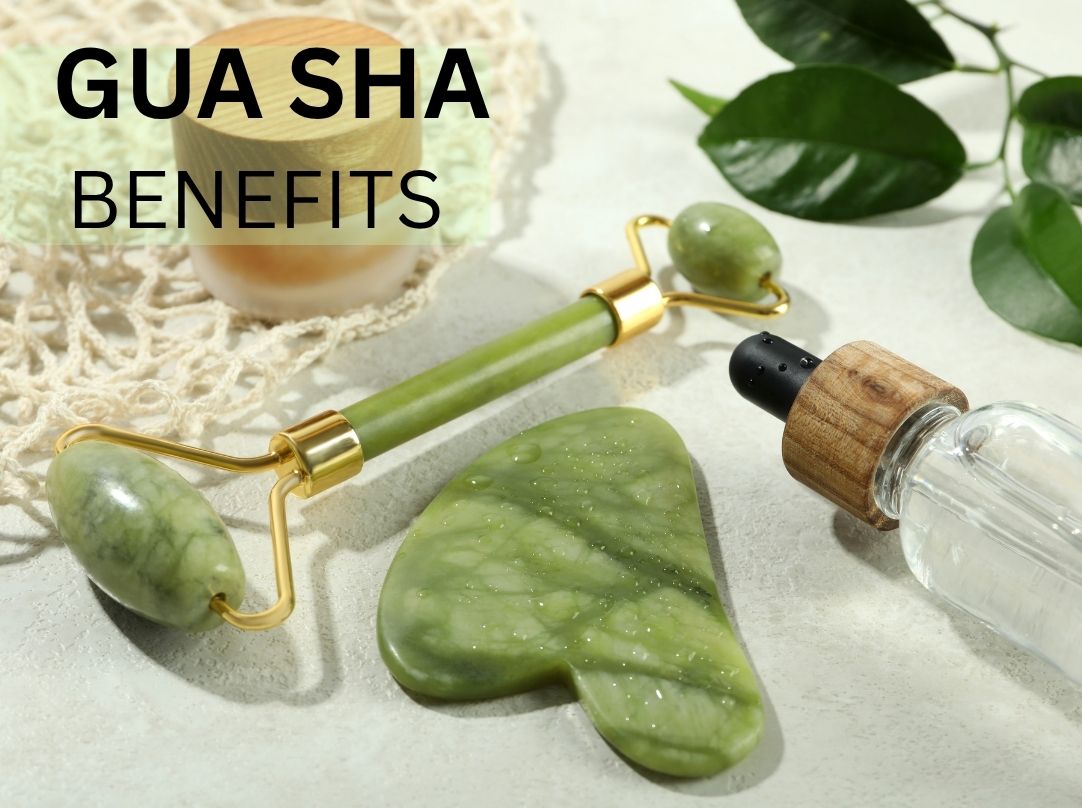
Gua Sha Benefits
Gua sha has quickly become one of the most popular self-care tools—and for good reason. Although this traditional East Asian technique has existed for centuries, it’s now gaining attention for its ability to naturally lift, sculpt, and refresh the skin. Even better, gua sha is simple to learn and incredibly soothing to use. Below, you’ll discover its top gua sha benefits and a clear guide on how to incorporate gua sha into your own routine.
Explore the Gua Sha and Facial Roller Collection.
Benefits of Gua Sha
1. Boosts Circulation
To begin with, gua sha increases blood flow by gently gliding the tool across your skin. As circulation improves, your complexion looks brighter, more even, and noticeably healthier.
2. Reduces Puffiness
Additionally, gua sha helps drain excess fluid through lymphatic pathways. Because of this, many people see reduced puffiness—especially around the eyes, jawline, and cheeks.
3. Relieves Muscle Tension
Moreover, gua sha loosens tight facial muscles. If you clench your jaw or hold tension around your temples, consistent use can provide real relief.
4. Naturally Lifts and Sculpts
As you continue using gua sha, you may notice a subtle, natural contour. The massage stimulates the muscles beneath the skin, which can create a more lifted and defined look.
5. Enhances Product Absorption
Finally, gua sha helps your skincare products sink deeper into the skin. When paired with a serum or facial oil, the tool glides smoothly while delivering nutrients more effectively.
Also Read Facial Roller Benefits
How to Use a Gua Sha: Step-by-Step Guide
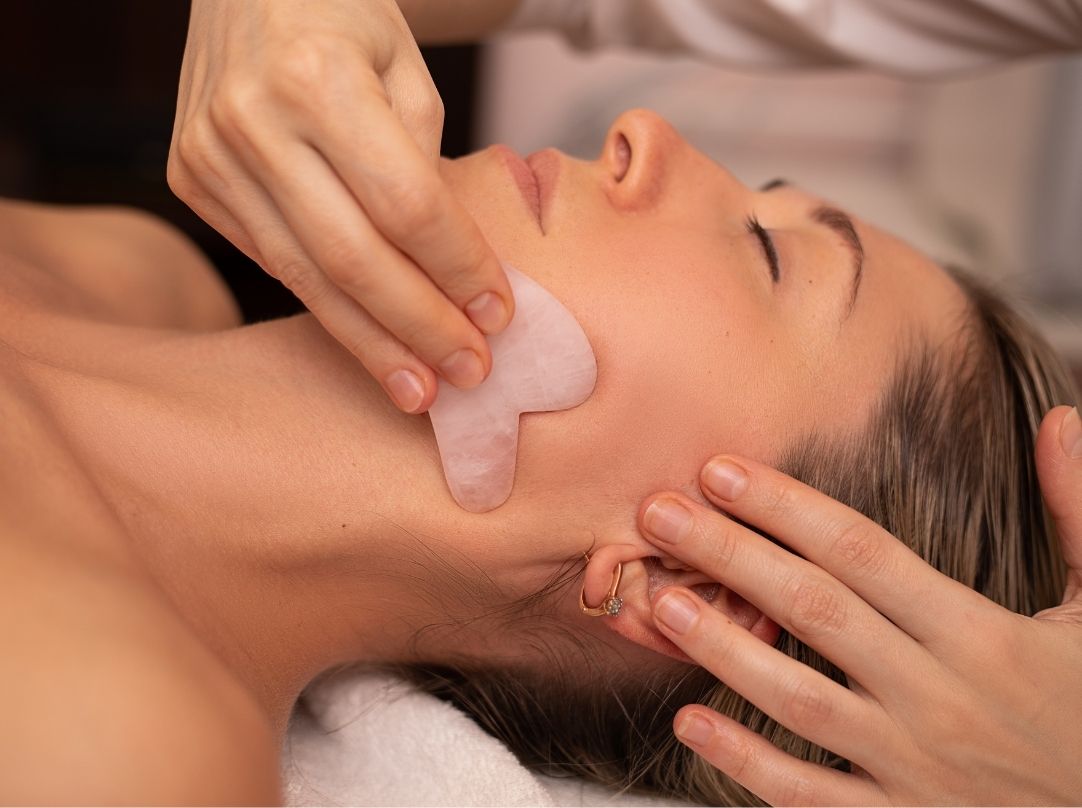
Before you start, apply a facial oil or serum so the tool glides smoothly and enhances the gua sha benefits you’re aiming for.
Step 1: Begin with the Neck
Start at the base of your neck and sweep upward. This step activates lymphatic drainage and boosts circulation—setting the stage for maximum gua sha benefits.
Step 2: Define the Jawline
Next, place the curved edge of your gua sha on your jaw and glide from chin to ear. This helps sculpt the jawline and amplify lifting benefits.
Step 3: Lift the Cheeks
Using the flat side, sweep from the nose outward toward the temples. This movement highlights cheek-lifting gua sha benefits.
Step 4: De-Puff the Under-Eyes
Use the smallest edge under your eyes with very light pressure. This targets delicate areas while enhancing de-puffing benefits.
Step 5: Shape the Brow Area
Glide the tool under the brow bone toward the temple. This relieves tension and supports lifting gua sha benefits around the forehead and eyes.
Step 6: Smooth the Forehead
Finish by sweeping from the center of your forehead upward. This helps smooth fine lines and boosts circulation—one of the gua sha benefits many users appreciate.
Tips on using Gua sha
-
Use light to medium pressure for comfort and effectiveness.
-
Keep your movements slow and intentional. Never drag the skin
-
Clean your gua sha tool after each use to maintain hygeine.
-
For best results, Practice 3–5 times per week to enjoy long-term gua sha benefits.
-
Always keep your strokes slow and intentional.